Skip to content

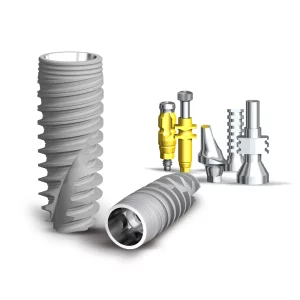
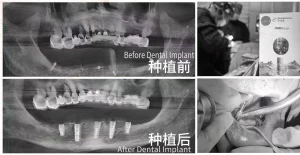
In the precise field of dental medicine, dental implant technology has become a blessing for many patients with missing teeth, thanks to its outstanding restorative results and highly realistic appearance. Behind this advanced technique, however, lie many seemingly inconspicuous yet crucial “unsung heroes”—among them, the impression coping plays a vital role.
As an indispensable component in the dental implant procedure, the impression coping is key to capturing accurate intraoral data. More importantly, it ensures a perfect fit for the final restoration and contributes to a natural, aesthetic appearance.
In this article, we invite you to explore the world of impression copings and uncover their significance and value in implant restoration.
What is an impression coping?
An impression coping is a highly specialized prefabricated component that plays a pivotal role in the field of dental implant restoration. It is indispensable in the crucial step of taking an impression during implant procedures, providing an essential foundation for the precise fabrication of the final restoration.
When performing dental implant restoration, accurately capturing the spatial position of the implant within the oral cavity is key to ensuring a successful and precise outcome. Impression copings are specifically designed to meet this need. By fitting precisely with the implant or abutment, they enable accurate localization and measurement of the implant’s 3D position in the mouth—including angulation, depth, and its relation to surrounding anatomical structures.
In practical terms, a specially designed transfer coping is carefully placed onto the newly implanted fixture or abutment. This step is akin to placing a “navigation marker” on the implant. Working in tandem, the transfer coping and the impression coping allow the exact position of the implant to be transferred completely and accurately to the surgical guide. This guide then serves as a “three-dimensional coordinate system,” offering a precise reference framework for the fabrication of the final prosthesis.
This impression-taking method, based on the use of impression copings, not only significantly improves the accuracy and efficiency of the process but also reduces the potential errors and complexity often associated with traditional techniques. Clinicians can work in a cleaner and more organized environment, while patients benefit from a more comfortable and streamlined treatment experience. Most importantly, the precise positional information gathered using impression copings lays a solid foundation for the customized design and accurate placement of crowns, ensuring the long-term stability and aesthetic success of dental implant restorations.
Classification of Impression Accessories: Implant Level vs. Abutment Level
In dental implant restorations, the precise selection and application of Impression Accessories directly impact the fit and function of the final prosthesis. Based on the reference point used for impression-taking, these components are mainly classified into two categories: Implant Level and Abutment Level. Below is a detailed analysis of their definitions, structures, clinical applications, and respective advantages and disadvantages.
I. Implant Level Impression Components
1. Definition & Structure
Implant-level impressions are taken based on the three-dimensional position of the implant in the bone, directly replicating the implant’s morphology to capture precise spatial information. Key components include:
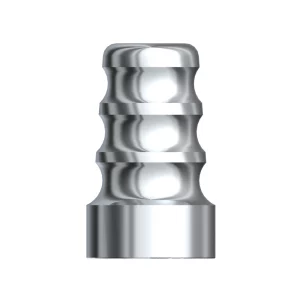
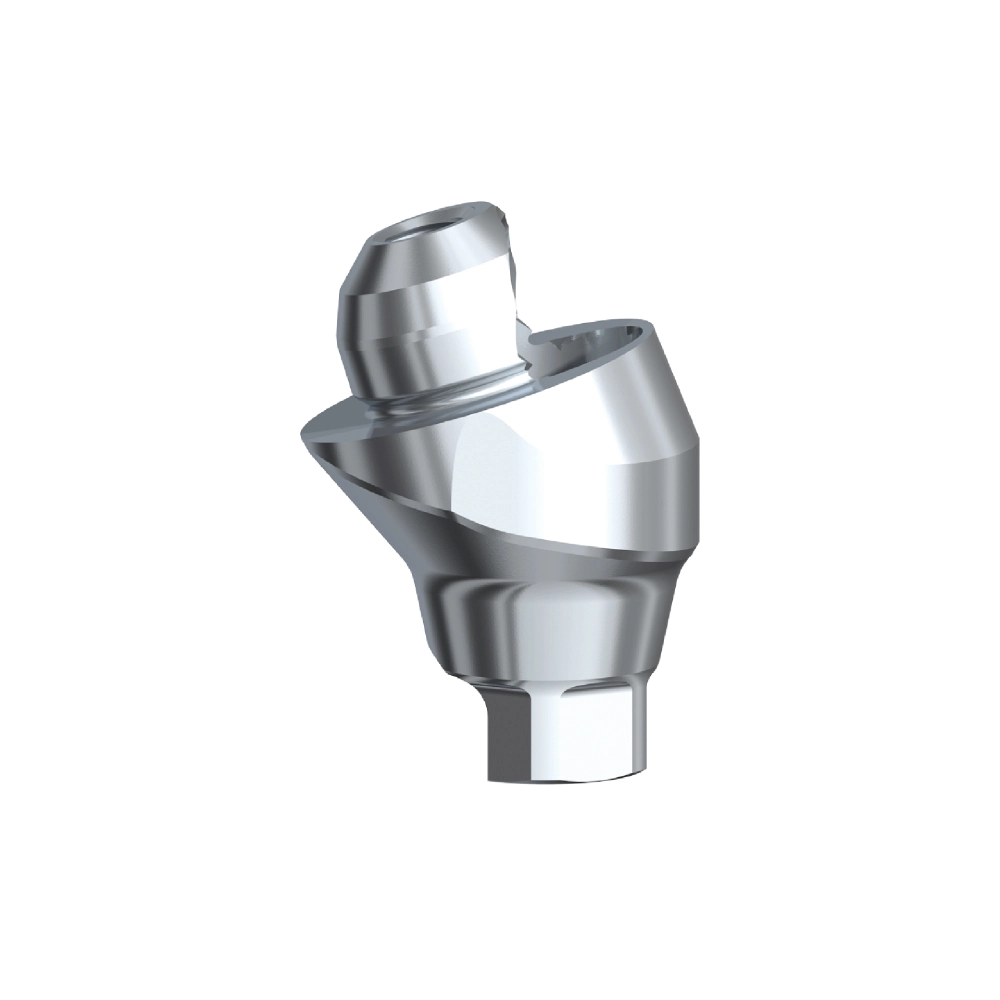
- Implant Impression Coping: Precisely connects to the internal or external hex of the implant, ensuring accurate transfer of angulation and axial position.
- Transfer Post: Connects the impression coping to the tray, enabling the transfer of implant position to the working model.
- Implant Analog: Mimics the implant in the working model, allowing for accurate prosthetic fabrication.
2. Clinical Applications
- Single-Tooth Implant Restoration: Ideal for cases requiring precise implant angulation.
- Edentulous Jaw Rehabilitation: Combined with digital scanning, allows accurate placement of full-arch prostheses.
- Immediate Implant Placement: Enables impression-taking immediately after implant placement, bypassing healing abutments and shortening treatment time.
3. Pros & Cons
Advantages:
- Ensures high-precision replication of implant position, minimizing error transfer.
- Suitable for complex cases, including angled implants and challenging bone conditions.
Disadvantages:
- Requires additional steps to connect transfer posts, increasing procedural complexity.
- Abutment selection is done on the model, which may increase chairside adjustment time.
II. Abutment Level Impression Components
1. Definition & Structure
Abutment-level impressions are taken based on the abutment position, replicating its shape to ensure passive fit of the restoration. Key components include:
- Abutment Impression Coping: Matches the shape of the abutment, capturing its three-dimensional orientation.
- Abutment Analog: Simulates the abutment in the working model for prosthetic fabrication.
- Abutment Protective Cap: Protects the abutment surface during impression-taking.
2. Clinical Applications
- Multi-Unit Fixed Restorations: Suitable for bridges or splinted crowns, ensuring proper alignment between abutments.
- Esthetic Zone Restorations: Custom abutment designs allow for optimized soft tissue contouring.
- Immediate Loading: Allows for abutment installation and impression-taking in one step, facilitating immediate restorations.
3. Pros & Cons
Advantages:
- Simplified procedure with reduced chairside time.
- Flexible abutment customization enhances prosthetic outcomes.
Disadvantages:
- Errors in abutment fit may carry over to the final restoration, affecting long-term stability.
- Not recommended for angled implants or complex bone anatomies.
III. Clinical Selection Strategies & Recommendations
- Single-Tooth Restorations: Prefer implant-level impressions to ensure accurate angulation.
- Multi-Unit Bridges: Use abutment-level impressions for convenience and prosthetic alignment.
- Esthetic Zone Cases: Combine digital technology with implant-level impressions to capture implant position, followed by abutment-level impressions for optimal tissue contouring.
- Complex Bone Conditions: Implant-level impressions with guided surgery improve prosthetic precision and long-term success.
Analysis of Different Types of Impression Coping
In dental implant prosthetics, impression copings serve as a critical connection between implants and prosthetic restorations. The choice of coping technique directly affects the precision fit and long-term stability of the final restoration. Based on impression-taking methods, impression copings are mainly categorized into Closed Tray and Open Tray types. The following provides an in-depth analysis of their technical principles, operational workflows, and clinical value.
I. Closed Tray Impression Coping
1. Technical Principle
The closed tray technique adopts an indirect transfer method. A pre-manufactured transfer post is embedded into the impression material. After the material sets, the post is detached from the implant and repositioned into the impression to accurately replicate the 3D position of the implant.
2. Workflow
- Step 1: Connect the transfer post to the implant, ensuring axial and angular alignment.
- Step 2: Inject impression material around the post to cover the implant and adjacent tissues.
- Step 3: Once set, remove the impression and detach the post from the implant, then reinsert it into the impression.
- Step 4: Send the impression to the dental lab to fabricate the restoration based on the master model.
3. Clinical Value
Advantages:
- Suitable for challenging bone conditions (e.g., angled implants); reduces error transfer from abutments.
- Ideal for single-tooth or edentulous arch restorations, ensuring passive fit of the prosthesis.
Limitations:
- Multi-step process; time-consuming due to repeated detachment and reinsertion of the post.
- Requires impression materials with excellent flowability to avoid bubbles or deformation.
II. Open Tray Impression Coping
1. Technical Principle
The open tray technique uses a direct transfer method, where the impression coping is fixed directly to the implant. The tray features an opening, allowing the fixing screw to extend outside the tray and be unscrewed before removing the set impression. This captures the implant’s position with high accuracy.
2. Workflow
- Step 1: Attach the impression coping to the implant, ensuring the screw extends through the tray opening.
- Step 2: Apply impression material to cover the coping and surrounding tissues.
- Step 3: Before removing the impression, unscrew the coping through the tray opening to capture the implant’s position directly.
- Step 4: Send the impression to the lab for restoration fabrication based on the master model.
3. Clinical Value
Advantages:
- Simple operation and efficient; reduces chair time.
- Suitable for multi-unit restorations or esthetic zone implants; allows customization of abutment design.
Limitations:
- Potential for error transmission if coping precision is not tightly controlled.
- Tray design must accommodate screw access to ensure smooth removal.
III. Technical Comparison and Selection Strategy
| Technique Type | Closed Tray Impression Coping | Open Tray Impression Coping |
|---|---|---|
| Operation Complexity | High (multiple detachments) | Low (direct coping transfer) |
| Accuracy Control | High (minimizes abutment error) | Moderate (requires precise coping) |
| Clinical Indications | Single implants, complex bone cases | Multi-unit restorations, esthetic areas |
Selection Recommendations:
- For complex bone conditions: Prefer closed tray technique to ensure precise implant positioning.
- For multi-unit restorations: Choose open tray technique based on abutment design, balancing efficiency and accuracy.
- For digital workflows: Use open tray to gather base data via 3D scanning, then refine with closed tray impressions for personalized adjustments.
Closed and open tray techniques each offer distinct benefits: the former excels in accuracy, while the latter is favored for its operational efficiency. As digital technologies advance, both methods are increasingly used in tandem. For instance, clinicians may use open tray impressions to capture general implant positioning, then apply closed tray methods for fine-tuned customization. Looking ahead, with continued advancements in materials science and digital integration, impression coping technologies are expected to evolve toward intelligent and integrated solutions, delivering even greater efficiency and precision in implant prosthodontics.
How to Use Impression Caps for Accurate Impressions?
In dental implant restoration, impression caps are essential tools for capturing the 3D position of the implant. The method of taking impressions varies based on the tray type. The main methods currently used include open tray impression, closed tray impression, and digital impressions. Each method has its own set of operational procedures, precision control, and suitable scenarios. Below, we will analyze the key points and technical differences of each method.
Open Tray Impression Method
Operational Steps:
- Tray Preparation:
Apply adhesive evenly to the surface of the custom tray to ensure the impression material bonds well with the tray. - Layered Impression Material Filling:
Fill the tray with heavy impression materials (such as polyether or silicone rubber) to cover the implant area.
Fill light impression material (such as low-viscosity silicone rubber) around the impression cap to accurately replicate the soft tissues. - Tray Positioning and Adjustment:
Gently place the tray, remove the impression material around the occlusal plane to expose the impression cap’s access hole. - Impression Setting and Removal:
Once the impression material has fully polymerized, secure the screws to fix the impression cap, and gently remove the impression.
Technical Advantages:
- Accurate Soft Tissue Replication: The light material can clearly capture the contours of the papilla and gingival margins.
- High Flexibility in Operations: Suitable for multi-unit restorations or aesthetic zone implants, allowing for adjustments to the impression cap position as needed.
Closed Tray Impression Method
Operational Steps:
- Impression Cap Installation:
Directly install the closed tray impression cap onto the implant, ensuring accuracy in angle and fit. - Filling the Impression Material:
Evenly fill the tray with impression material (such as polysulfide rubber) to cover the implant and surrounding tissues. - Impression Setting and Removal:
Once the material has polymerized, remove the impression cap from the implant. - Substitute Body Fixation:
Fix a substitute body (such as a titanium alloy abutment) onto the impression cap to form the final impression assembly.
Technical Advantages:
- Adjacent Movement: Directly transfer the implant position to the impression through the impression cap, reducing the tray transfer process.
- Efficient Operation: Ideal for single-tooth implants or edentulous arch implants, minimizing overall clinical time.
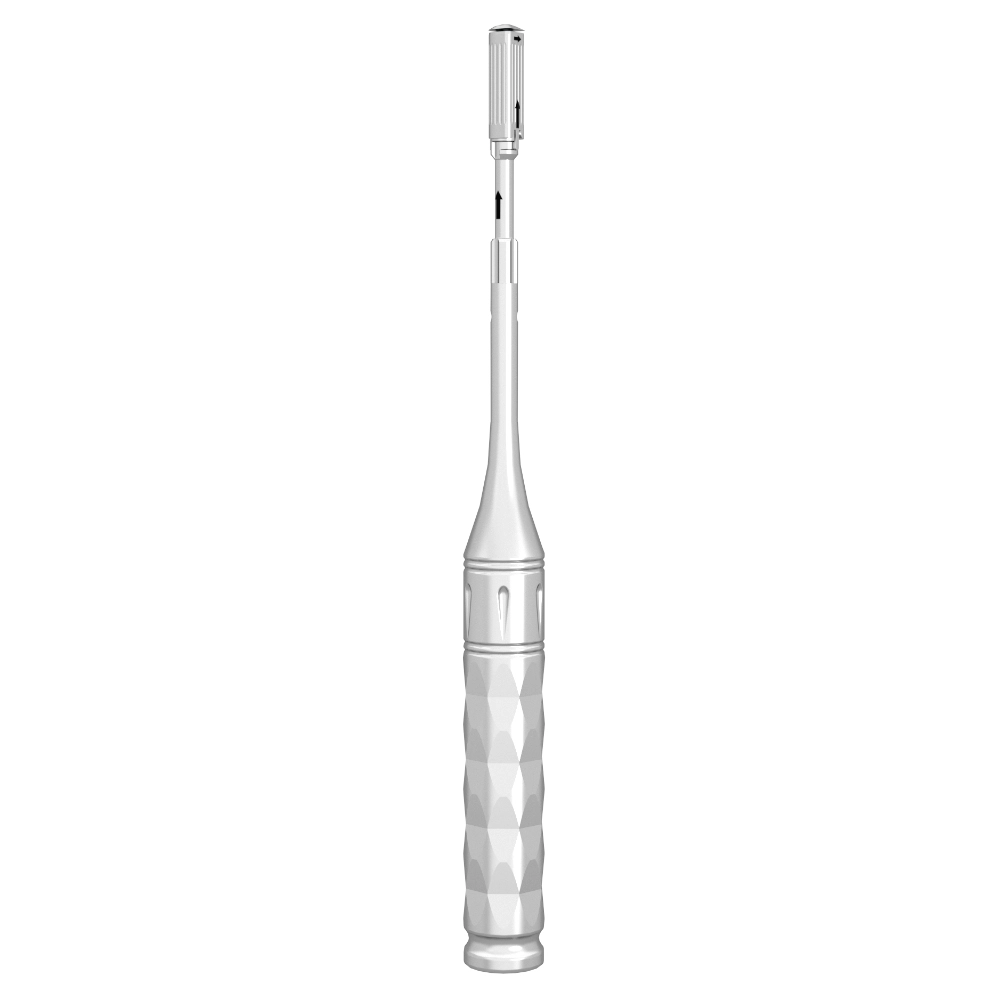
Digital Impression Using Scan Body
Technical Principle:
Traditional impressions cannot be directly used for digital impressions. A scan body is employed to obtain accurate 3D data of the implant. A scan body is an in-mouth positioning device designed for digital implant restoration, used with an intraoral scanner (such as CEREC or Trios) to directly capture the implant’s position, eliminating the need for impression materials.
Operational Steps:
- Scan Body Installation:
Attach the scan body to the implant, ensuring its integrity and alignment with the intended restoration design. - Intraoral Scanning:
Use an intraoral scanner to perform a 3D scan of the scan body and surrounding tissues, generating a digital model of the implant and adjacent structures. - Data Transmission and Restoration Design:
Transfer the scan data to a CAD/CAM system and use virtual design software (such as Exocad or 3Shape) to design the restoration.
Technical Advantages:
- High Efficiency and Precision: Avoids the adjustments required in traditional impressions, improving the fit of the restoration.
- Instant Feedback: Real-time validation of implant position and restoration design consistency.
- Enhanced Patient Experience: Reduces the discomfort associated with traditional impression materials.
Precautions:
- The scan body must be compatible with the implant brand to ensure data compatibility.
- Keep the oral cavity dry during scanning to avoid soft tissue distortion affecting precision.
Technical Comparison and Selection Strategy
| Technique Type | Open Tray Impression | Closed Tray Impression | Digital Impression |
|---|---|---|---|
| Precision Control | Moderate (depends on soft tissue stability) | High (direct transfer of implant position) | Very High (no tray transfer) |
| Operational Complexity | High (layering and adjustments) | Moderate (single-step operation) | Low (automated scanning) |
| Suitable Scenarios | Multi-unit restorations, aesthetic zone implants | Single-tooth implants, edentulous arches | Complex restorations, immediate restorations |
Selection Recommendations:
- For Precise Positioning: Prioritize digital impressions or closed tray impressions.
- For Soft Tissue Replication: Open tray impressions are better for cases requiring precise soft tissue shape replication.
- For Efficiency: Digital impressions significantly reduce clinical operation time, enhancing the overall patient experience.
Conclusion
Impression cap techniques, as a core part of implant restoration, reflect the paradigm shift from traditional physical impressions to digital technology. Early clinical practices relied on materials such as silicone and polyether rubbers, using open tray methods with layered impressions to capture both the implant and soft tissue morphology, or using closed tray impression caps to directly transfer 3D information. However, these methods were limited by human operational precision and material stability. With the advancement of digital technology, intraoral positioning devices centered around scan bodies, using optical scanning or CBCT data matching, have enabled non-invasive collection of implant positions, angles, and adjacent anatomical structures. The error margin can be controlled within 10-20μm, and scanning a single implant takes only 3-5 minutes, without the need for impression materials, significantly improving precision, efficiency, and patient experience.
In clinical practice, for complex cases (such as multiple implants or soft tissue reconstruction), digital impressions combined with AI-assisted design are preferred. For single implants, closed tray impressions balance cost and precision. Aesthetic zone restorations are achieved by using digital impressions to replicate the gingival contour, paired with 3D-printed personalized abutments for immediate restoration. In the future, technological advancements will focus on biodegradable scan body materials, AI algorithm-driven dynamic restoration solutions, and a fully digital workflow from intraoral scanning to restoration fabrication. Ultimately, impression caps and scan bodies will evolve from simple positioning tools to intelligent hubs connecting patients, clinicians, and digital manufacturing facilities, driving implant restoration toward a new era of precise healthcare characterized by “zero error, zero waiting, and zero rework.”